Here's the previous install in my old 2008 jeep compass if any one is interested
http://www.jeepforum.com/forum/f98/inst ... ss-745237/
So this time It took me about 3 hours to install (ran into a issue with the rear radio support bracket you'll see below).
The parts I used are as follows:
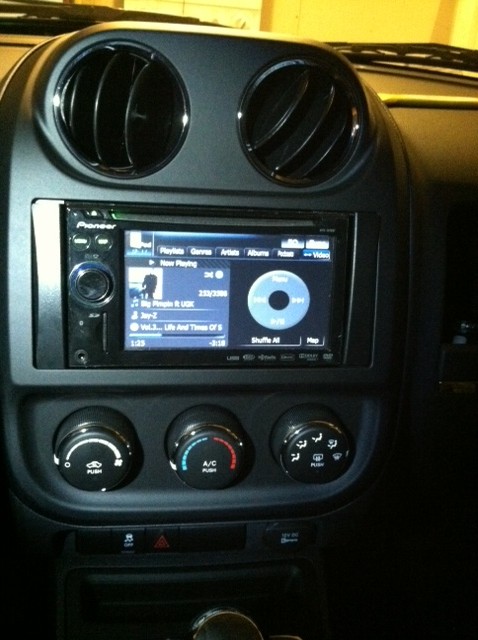
1. Pioneer AVIC-x910BT v3.0 firmware
This install should be the same for the following models AVIC-F900BT, AVIC-F700BT, AVIC-X910BT, AVIC-X710BT, AVIC-F90BT & AVIX-F7010BT
2. METRA 95-6511 2007 DODGE/JEEP/CHRYSLER DOUBLE DIN KIT
3. CHYAH05 or CHYAH08 or C2R-CHY4 Premium Radio Replacement Interface Chrysler. I had a spare CHYAH05 so that is why i used it. Just make sure if you get the CHYAH05 that its connect has 2 rounded corners (there are 2 different versions of the connector). The older jeep radio connectors use perfect square connection.
4. Jeep RADIO Antenna Adapter Wire Harness Plug 2001-2011
Photo's below.
Photo 1
The Stock radio See you later!
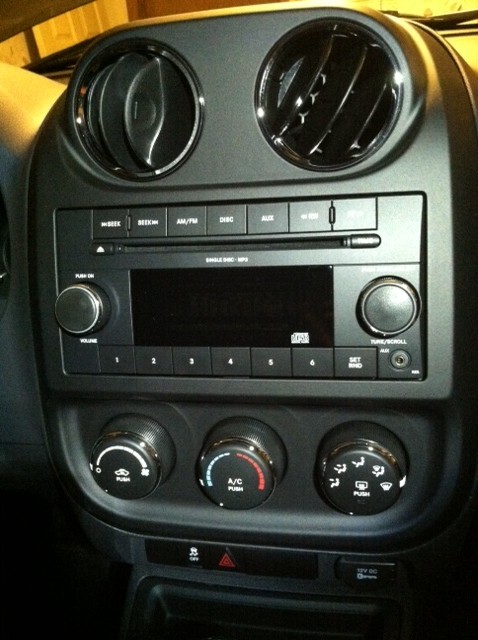
Photo 2
time to use the pry bar! Pry of the lower right of the bezel.
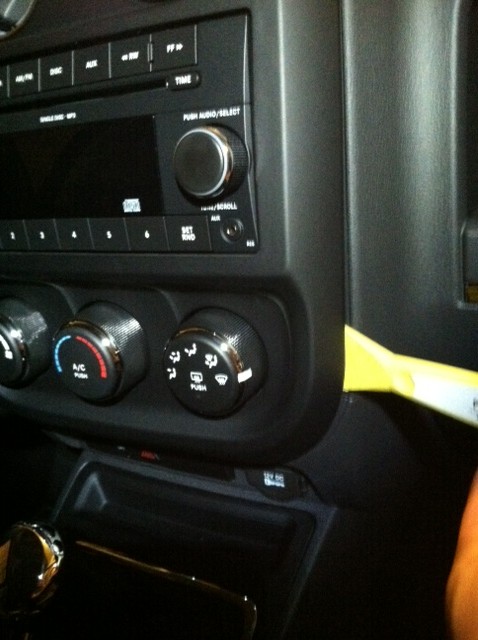
Photo 3
Next pry of the lower left of the bezel.
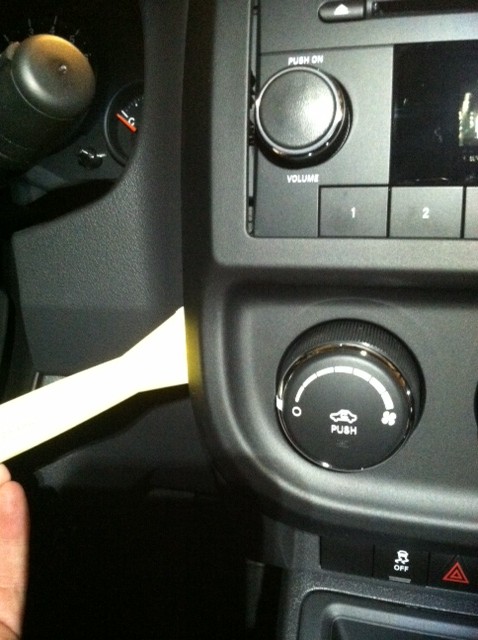
Photo 4
Lastly pry of the upper top of the bezel.
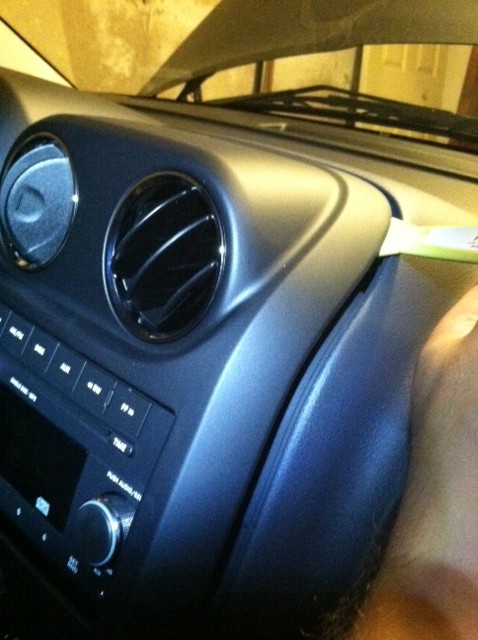
Photo 5
Bezel off lower!
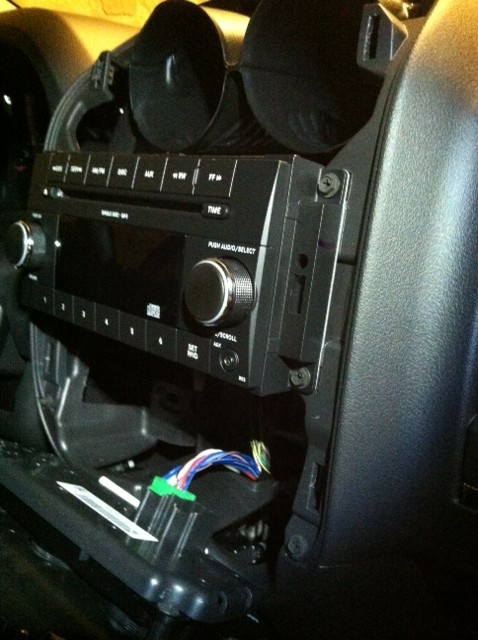
Photo 6
Bezel off upper!
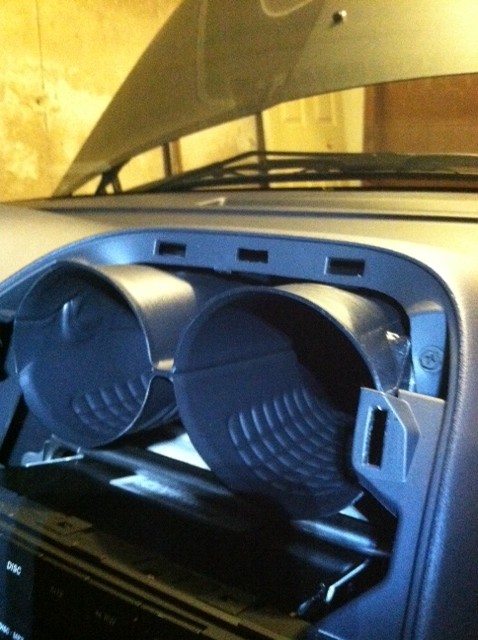
Photo 7
Disconnect the temp controls from the bezel and put it aside.

Photo 8
Brezel completely removed.
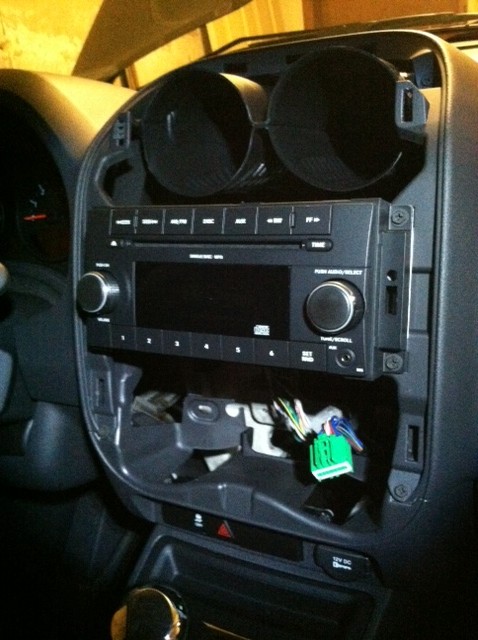
Photo 9
Picture of the jeep's anntenna and radio connector (see the 2 rounded corners on the radio's connector)
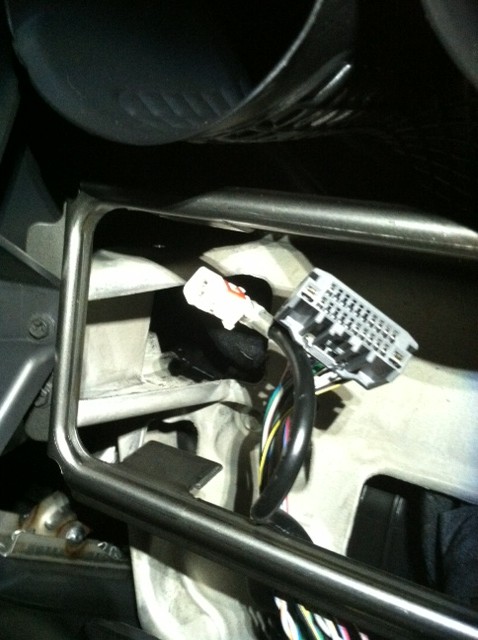
Photo 10
A picture of the "Jeep RADIO Antenna Adapter Wire Harness" installed
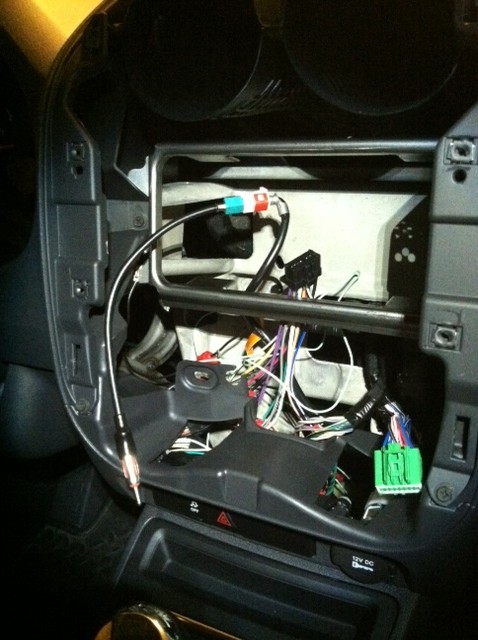
Photo 11
Problem! the avic radio would not fit! i have to get a dremel and cut the upper part of the rear support bracket off.
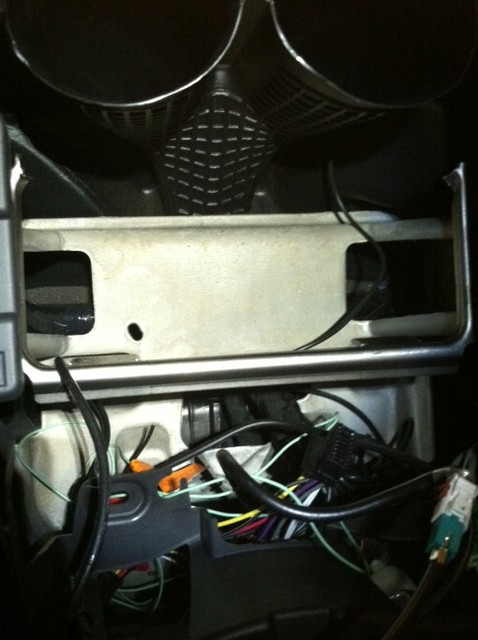
Photo 12
Next i had to remove the driver side's windshield plastic cover. Pop the plastic tab in the center of it and remove the screw within it with a Philips screw driver. I wanted to run the microphone to the driver's side sun visor.
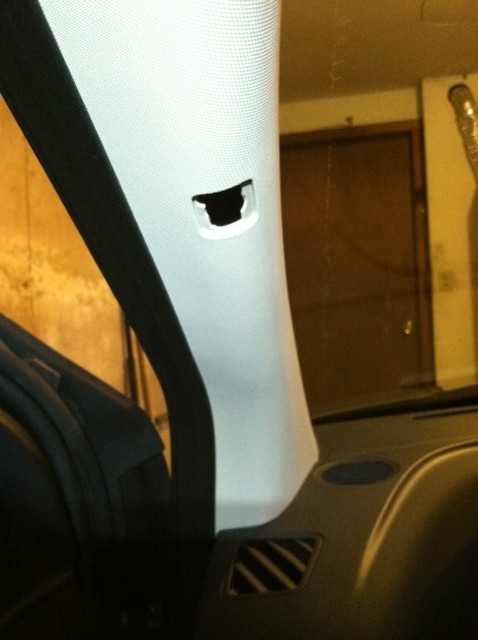
Photo 13
Part removed!
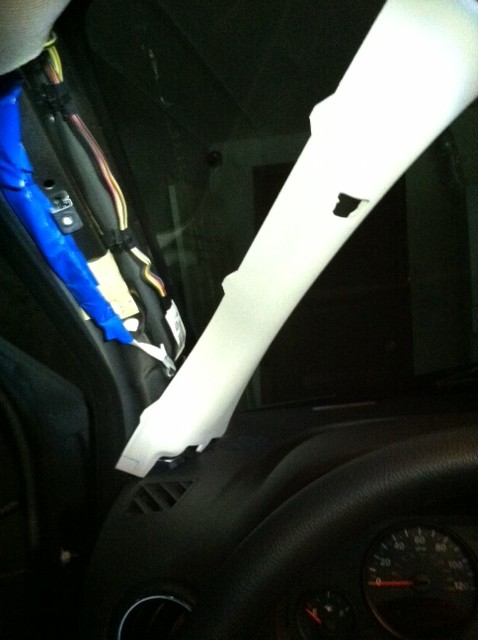
Photo 14
Remove the plastic cover in the driver's side door jam to run the microphone's cable though. Pry bar pops the cover off.
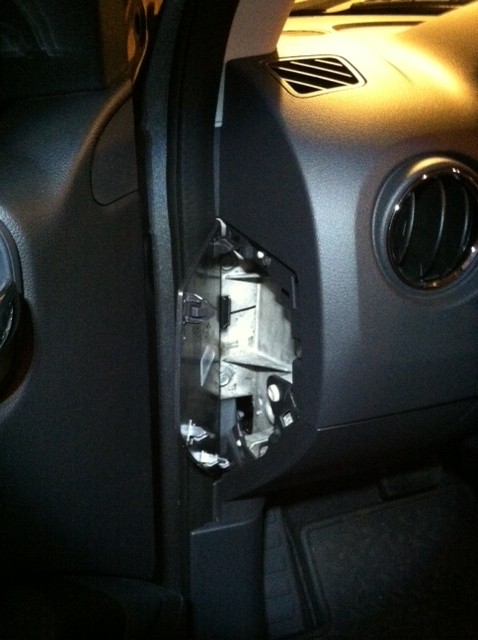
Photo 15
Microphone's location.
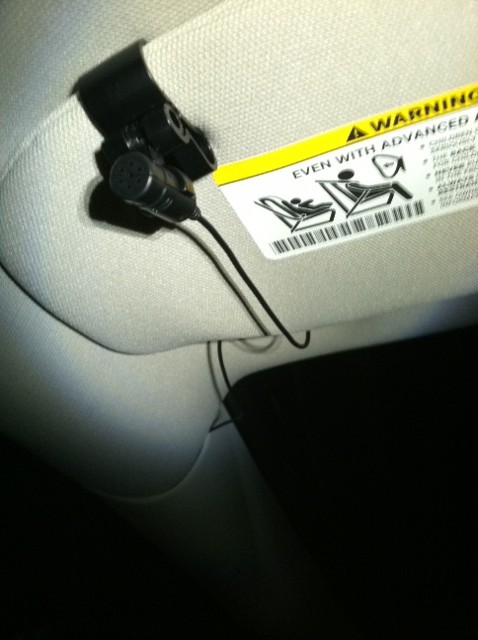
Photo 16
Final Product!
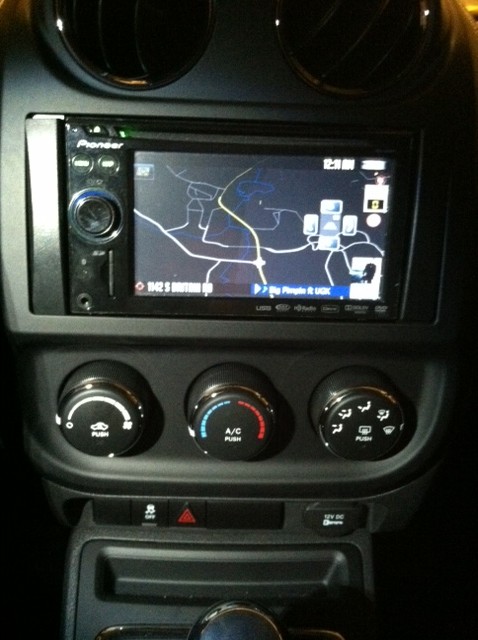
Photo 17
Final Product!
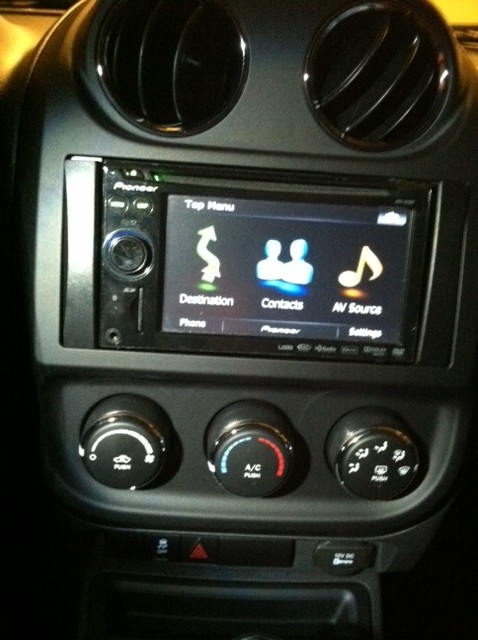
Photo 18
Final Product!